Egg & Pepper Sandwich

sbe-2017-eggpepp
Egg & Pepper Open Faced Sandwich
fsl
The girls…

Sunday morning.  What could be better?  I finally have time!  Time to make a real comfort breakfast, sip coffee and dream of Springtime.

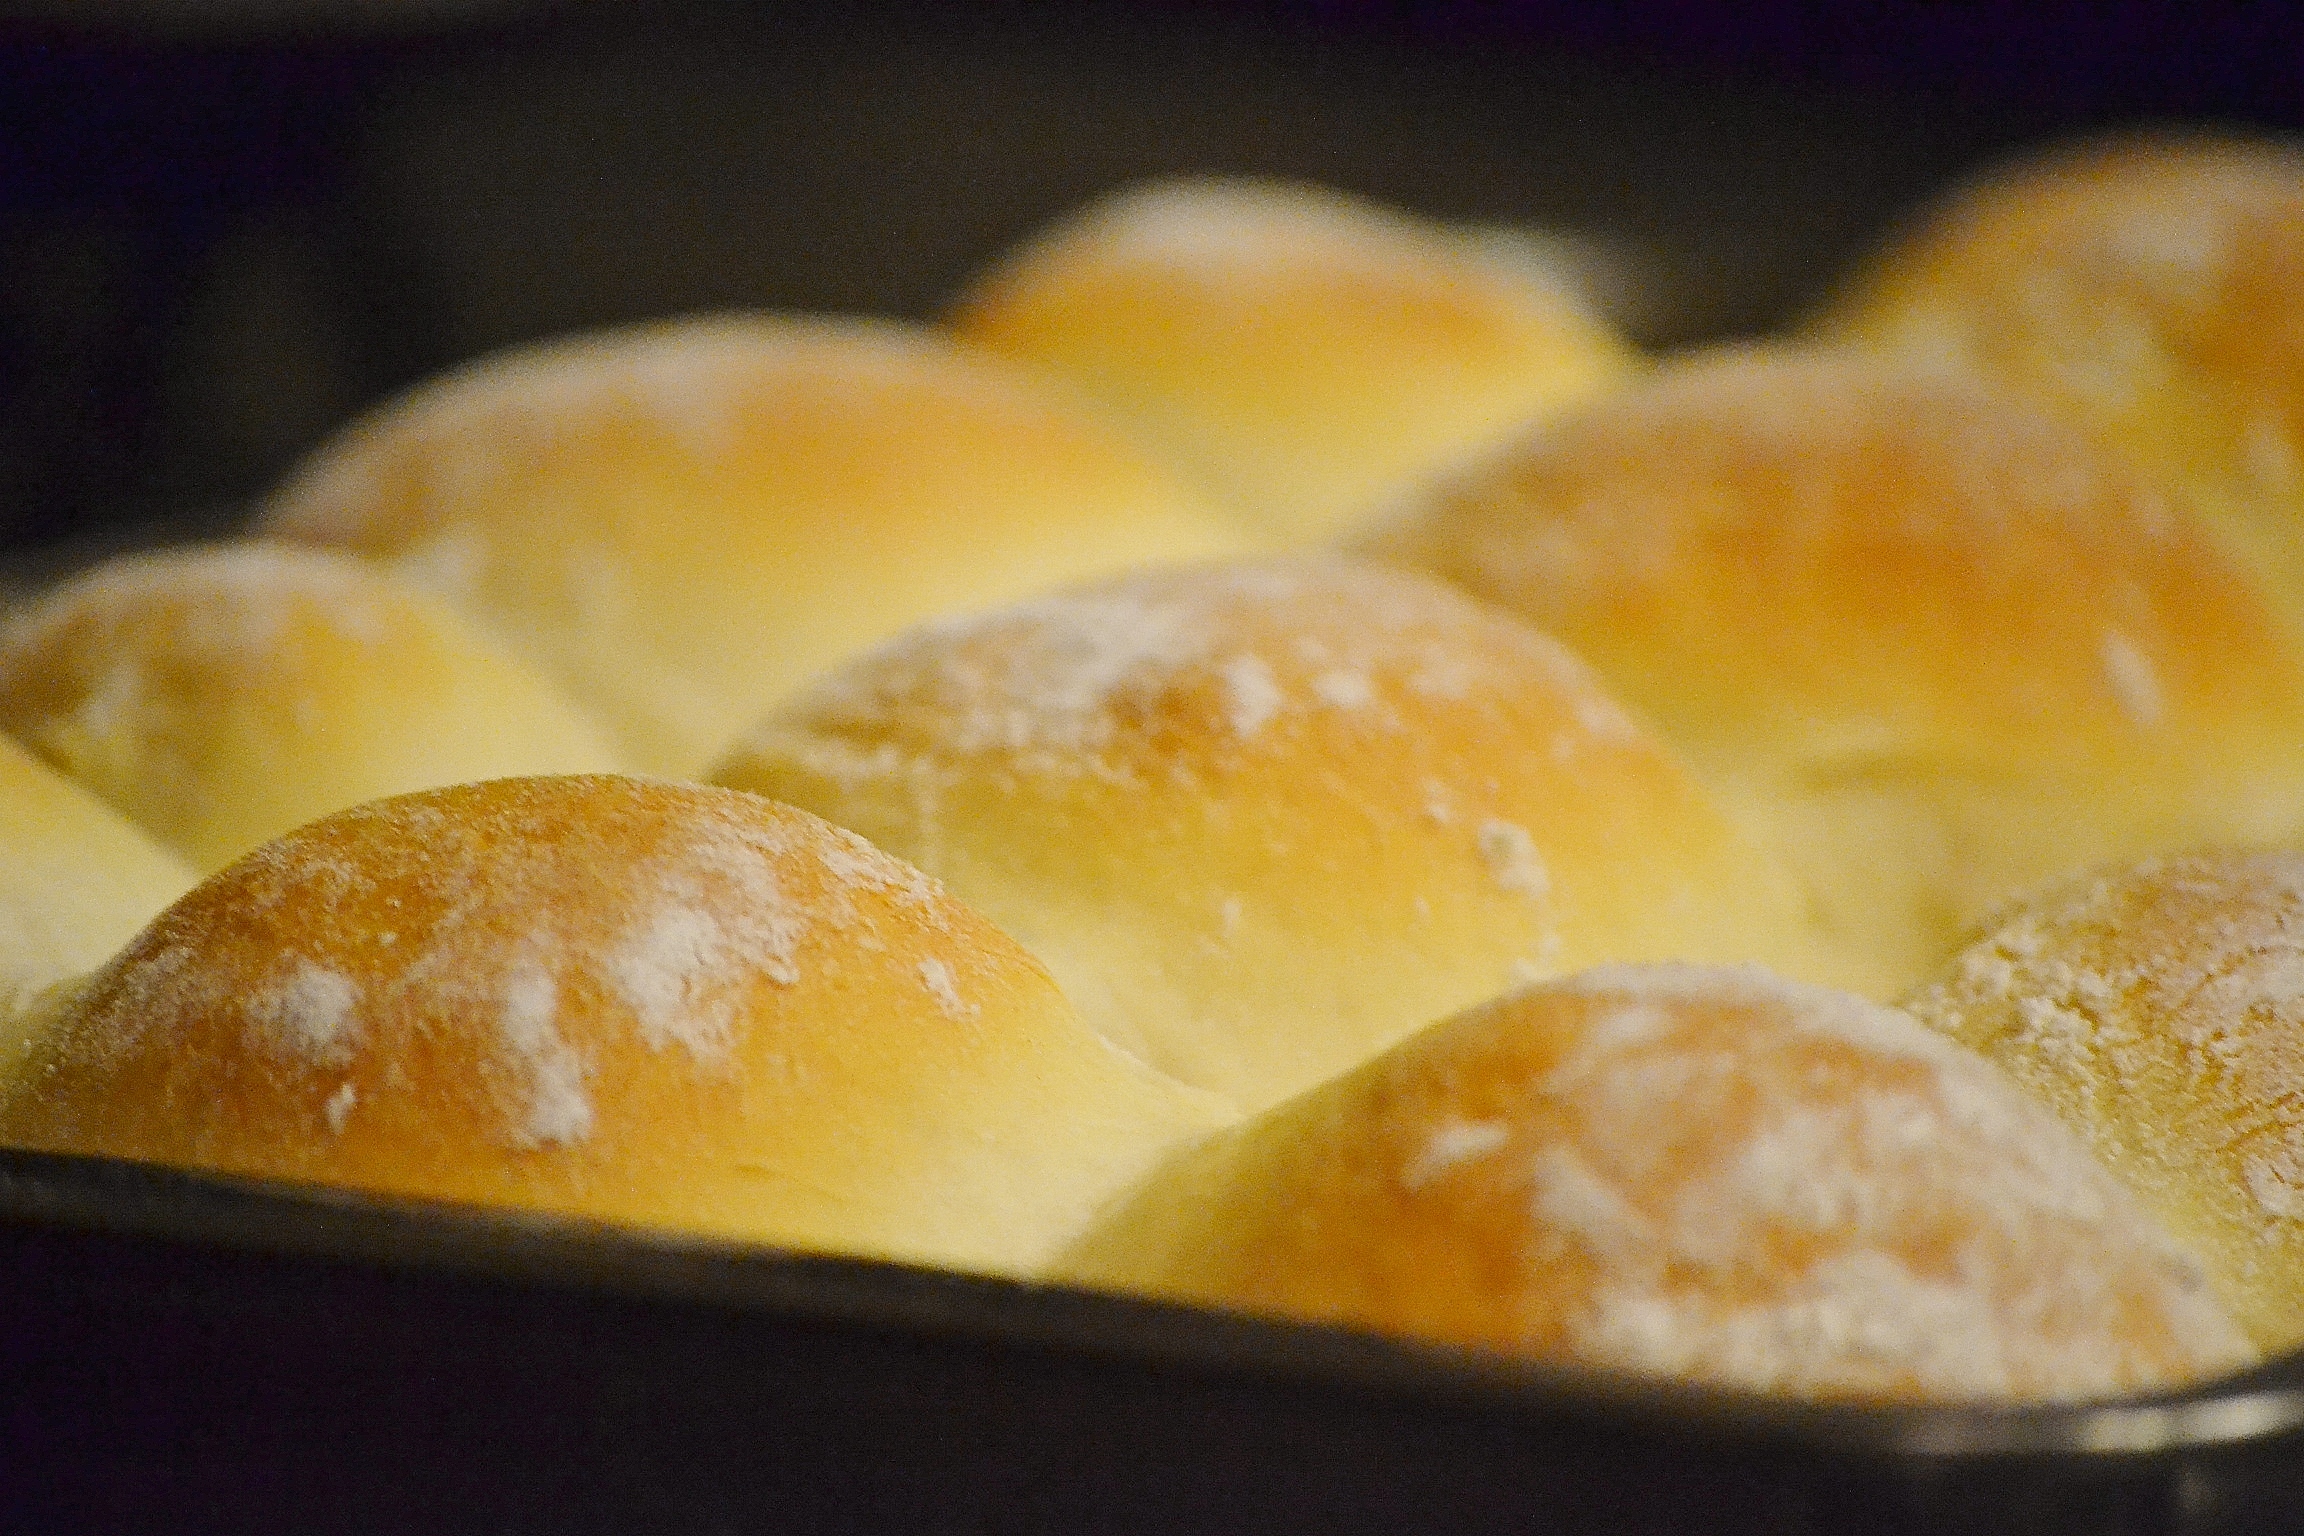
I snuck out on this chilly morning to visit “The girls” and see how many eggs I could get.  My kids wanted me to make them French toast.  I had something else in mind for me.  There was left over sourdough loaf from dinner last night that I was thinking would be lovely this morning… all toasty with eggs on top.

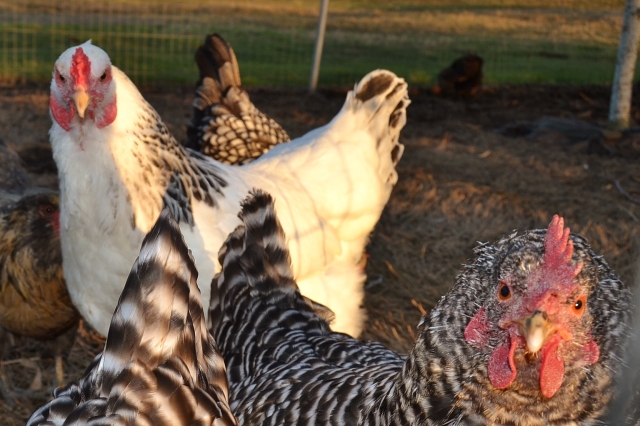
There were seven eggs.  The big dark brown egg I recognized as being from Fuzzy Slippers.  She is the white chicken in the picture above.  Her name was given to her because she has feathers that grow down her legs and onto the top of her feet.  I wanted to name her “Chaps”.  I was overruled.  That happens when you have kids.  The other eggs were light brown, blue and green.  If you ever get the chance to have backyard or farm fresh eggs, then you know that they are out of this world.  They are well worth the $5 or so a dozen and if they eat like mine do, they are worth it.

This is a photo taken a week ago of their home, with their run, alongside my garden, in the orchard.  The girls are spoiled.  Spoiled rotten.  I can’t help it.

38309895-eaba-4b38-83e5-2a87800b4fcc

On this day, I did make French toast.  I also made this lovely breakfast sandwich just for me.  It’s quick and delicious and the bit of red pepper added just the right flavor.

Directions

2 eggs

1 slice of sourdough or other rustic bread

1 T of butter

Red pepper cut in 1/4 inch slices to form rings

Salt & Pepper

Parsley, chopped

Instructions  – Makes 2.

If you have left over rolls or bread from dinner or just using regular loaf bread, you can toast them in the toaster or oven.  I put butter on both sides of the bread and put it in the oven on broil, watching them until they were golden on top and then I flipped them and took them out when they were perfect.  Let me tell you a little something about “butter and broil”.  Watch it closely.  The notion that you are going to get something else done in the kitchen and come back to it rarely works out in your favor.  Just sayin’.

Turn the stove on medium and set up your non-stick griddle.  When its hot, place the slices  of red pepper on the griddle.  After 1 minute, gently crack one egg in the center of each of the pepper rings.   Let cook for about 2 1/2 minutes.  Using a spatula, flip the egg and pepper over quickly and cook on this side for about 3 more minutes.  Vary time depending on how you like your eggs.

Place the eggs on top of your toasty bread.  Sprinkle salt, pepper and parsley over the top.  Enjoy alongside your hot coffee goodness!  Happy Sunday.

Hot French Dinner Rolls

Rolls

A member of my family bakes bread or rolls every day.  He always brings his rolls or breads when coming over for dinner to share with everyone.  They have the best texture.  One day I asked him what his secret was and he said that you have to have starch in your water.  His trick is boiling potatoes and saving the water.  He lets the water cool on the counter and transitions it to the fridge for the weeks baking.  Prior to using it, give it a quick stir as the starch molecules are heavy and it settles to the bottom.  Try this.  You will never go back to making bread with plain old water again.  Also, if you don’t have potatoes on hand, pasta water, left over corn cob water, or even adding 2 t of Argo Corn Starch will do.  Seriously, prepare to be amazed to eat these hot french dinner rolls right out of the oven! (But be careful, they’re HOT!)

Ingredients:
1 1/8 C. starchy water
1 T. olive oil
3 C. bread flour
1 1/4 t. sugar
1 t salt
2 t active dry yeast

Directions:
Preheat oven to 350 degrees.  Add each ingredient to bread machine pan in exact order listed.  Select the “dough” setting.  When the dough setting is complete, turn out dough onto floured work surface.  Nead dough with flour and section off into 12 equal handfuls.  Using floured hands, roll into balls of dough.  Using spray oil, spray a 9×13 pan and place rolls three across and four down.  Let rest for at least an hour in a warm environment. This will let them rise until ready for baking.

Bake until desired doneness, about 15 to 18 minutes.

Slather these with butter and enjoy.  They are SO GOOD!


Relleno Minis

DSC_0161

These little rellenos are a hit for any party!  They are also great for a side dish or an appetizer to any Mexican themed event.  I dreamed these up for a Mexican style appetizer party that a friend was hosting.  I wanted a small bite that was a combination of spicy and creamy.  Since then, I have made them over and over and most recently as an accompaniment to carne asada tacos.  People love them and they will disappear quickly.  There are a couple different ways to make them depending on how much time you have.  I’ll share both.

Ingredients:

Cooking Spray
6 fresh poblano chilis or 3 cans Ortego whole green chilis
1/4 lb. ground chorizo* sausage, cooked
1 1/2 C. of ricotta cheese
1/2 C. chopped cilantro (divided)
1 t. onion powder
1/2 t. smoked paprika
1/2 t. salt
shredded Mexican cheeses
Cojita Mexican cheese*

Directions:
Preheat oven to 425 degrees.

If you are using fresh poblanos, place them on a foil covered cookie sheet and place them in the oven on broil.  When they start to blister and turn brown, open the oven and using long tongs, roll them over.  When they have completed blistering and the skins are brown, remove from the oven with tongs and place into a paper bag.  Roll the top of the paper bag down tight and let the bag sit on your counter for a half hour.  When its time, open the bag and place the poblanos before you.  You can essentially peel the skins off and seed them.  You can slice them in to four long quarters (top to bottom).  They may just naturally come apart that way when you seed them too.

615

If you are using canned, drain and rinse them and lay them on a paper towel.  Separate them into four long quarters.  They should be about two inches wide and 5 inches long.

Assemble your ricotta cheese mixture by mixing the following ingredients in a small bowl:  ricotta, 1/4 C. of the chopped cilantro, smoked paprika, onion powder and salt.

Spray oil in a casserole dish and lay your chilis down insides facing up.  Put about 1 T. of the ricotta mixture on the largest end of each chili.  Top with 1 T. cooked chorizo.  Fold over the opposite end of the chili over the meat and cheese and top with Mexican shredded cheeses, the cojita cheese and sprinkle with remaining cilantro.

Cook in the oven for 20 minutes or until the cojita is just browned on top.  Remove from the oven and serve warm.

*You can buy cojita cheese and chorizo now at virtually any market.  If you want to make these relleno minis vegetarian, just omit the chorizo.

Enjoy!

Argentinean Chimichurri

DSC_0552Ingredients

1/2 C. olive oil

2 T. lemon juice

2 t. minced garlic

1/3 C. minced shallot

1/3 C. minced fresh parsley

1/3 C. minced fresh basil

1 t. chopped fresh thyme

1 t. chopped fresh oregano

salt & pepper to taste

Directions

Put all ingredients in a food processor except oil and pulse until desired consistency.  I like it a little bumpy, not smooth, but it depends on what you are putting it over (chicken, steak, fish, vegetables, crusty bread).  Slowly add olive oil and work into mixture.  Store on counter for two to four hours.  Refridgerate covered overnight.  For best results, make a day or two ahead to let the flavors blend.  It’s tangy and fresh.  A wonderful change from cream sauces.

Enjoy!

Mistletoe Mulled Wine

photo

Our December Dinner Club was held at Tracy’s home this year.  Starting the evening, she served Mistletoe Mulled Wine to the guests in a beautiful stemmed glass coffee mug.  She then poured the wine after it was done in a silver coffee pourer for all to share.

I’ve had mulled wine before and thought it was okay.  Taking a sip of this warm, soothing, holiday bowl was really like no other I had tasted.  It was very good and the flavors perfectly represented everything Christmas.  I actually had seconds!  She gave me the recipe and now I share it with you.

Ingredients
½ C Sugar
¼ C Water
2 Orange Slices
6 Cloves
2 Cinnamon Sticks
½ C.  mixed Pineapple, Orange, and Banana juice from concentrate  (or you can use orange juice)

Directions
Using a saucepan, add sugar through cinnamon sticks.  Boil 5 minutes.  Stir in orange juice and one bottle of Bordeaux.  Warm again.  Remove solids.  Serve warm and enjoy with friends.


Gingersnaps

DSC_0237

I have a note to myself on my Gingersnap recipe in my recipe box that reads, “This is the best recipe!  I made this for the first time in 1997 when we went to Whistler and for each Christmas since.  The aroma is fabulous.  Everyone loves these.”    I remember that trip with my family.  I love how memories are made around food.  These smell amazing and they are delightfully good right out of the oven.

Ingredients
2 C. flour
1 T. ground ginger
2 t. baking soda
1 1/2 t. ground cinnamon
1/2 t. ground cloves
1/2 t. salt
3/4 C. white vegetable shortening (Crisco)
1 C. sugar
1 egg
1/4 C. molasses
Sugar for rolling.

DirectionsDSC_0233
Preheat over to 350 degrees.  Do not grease cookie sheets.

In a bowl, combine flour, ginger, baking soda, cinnamon, cloves and salt.  Set aside

In an electric mixer, beat shortening and sugar together until light and fluffy.  Beat in egg and molasses.  Gradually stir in flour mixture.

Roll dough into 1 1/2 in dough balls and roll in sugar until completely coated.  Place cookies at least two inches away from each other on the cookie sheet.

Bake between 9 to 11 minutes until lightly browned and somewhat cracked looking.

These cookies are great with coffee, cocoa or tea.  Store in airtight containers and enjoy all winter long.

Cheesy Baked Eggs with Sausage

Baked Eggs

Cheesy Baked Eggs with Sausage

Yes please!

I love talking food with people anywhere, any time, and any place.  I was recently talking with a friend of mine about the changes you make when starting the school year.  He was saying that it is important to him and his wife that his kids had breakfast which launched a conversation about how time in the morning is short on school days.  He recommended baked eggs because they were easy, fast and tasty.  They are baked in muffin cups, so you can even eat them on the go.  If you are having overnight guests, these are really easy to make in the morning, keep warm and serve when everyone wakes up.

There are lots of different ways to make baked eggs.   Like other recipes, you can make these as low in calories as you wish, or as high.  I suggest that you be creative with the ingredients you use.  The base always starts with the same ingredients; eggs, milk, salt and pepper (omit salt if preferred).   Considering adding some of these ingredients in your baked eggs; cooked sausage, cooked bacon, smoked salmon, roasted red peppers, sautéed mushrooms, steamed vegetables, onions, spinach, gruyere, cheddar, parmesan, sage, oregano, smoked paprika or other spices.

Baked Eggs

Preheat your oven to 350 degrees.

Egg Base

6 eggs

1/2 C milk

1/2 t. Dry Mustard

pepper & salt as desired

In a medium bowl whisk together eggs, milk, dry mustard, pepper and salt.

Ingredients

You can choose from any of the ingredients in the summary, but here is the recipe used for the Cheesy Baked Eggs with Sausage pictured.

Egg Base

1/2 t. onion powder

Cooked, crumbled sausage

1/2 C. white cheddar cheese

1/2 C. sharp cheddar cheese

DSC_0007

Directions

Prepare your muffin tins with oil spray before adding your ingredients.  This is a must or your eggs will stick and you will have to scrape them out.  No fun.

After preparing your muffin tins, add all the components to your eggs.  Do not fill them all the way to the top.  When you are done, pour the egg base over the top of these ingredients in each cup and stop pouring when the base is 1/4 inch from the top.  Add your cheese topping over the top.  Bake for 18 to 25 minutes.  You want the top to be golden brown.  Remove from oven and let rest about 5 minutes prior to turning them out.  Gently using a fork go down the sides and scoop them out into an oven safe serving dish.  Warm until ready to eat.

Enjoy!

Potato Gnocchi

Potato Gnocchi
Potato Gnocchi

Potato Gnocchi

A little tiny light and fluffy pasta pillow.  Cover them with a pesto, marinara or brown butter sage sauce and you will be in heaven.  I have enormous passion for these little things.

The first time I tried them was at a local restaurant known for their fabulous Italian food.  There were so many good things on the menu.  The waitress came to the table and asked my companion and I for our orders.  Feeling gastronomically wild, I closed the menu and smiled at her and said, “You decide.  Surprise me.”  Everything at this restaurant is amazing so I knew I would be pleased with anything on the menu.  She brought me the gnocchi.  I loved it and now I crave it all the time.  The gnocchi was actually considered a “special” that night on the menu and I hope to God they don’t stop serving it because it ranks right up there with the top ten foods you love to eat.

I reviewed several recipes before making them myself.  I decided to combine a few and do a test run and I was pretty scared.  Not sure why though because they turned out great!  I froze them on prepared cookie sheets, then slid them into a freezer safe bag and now I can pull some out and whip up a batch on the fly.  Experiment with different types of gnocchi.  To change the flavor, try adding either squash puree, pesto, or tomato paste with Italian herbs prior to adding the flour and remaining ingredients, then proceed with preparing the gnocchi as instructed.

Ingredients

6 Russet baking potatoes

1 C. Bread Flour

2  eggs beaten

1 t. salt

1 t. nutmeg

Potato Gnocchi 2

Directions

Preheat your over to 425.  Poke your russets with a fork or a sharp knife and wrap in foil.  Place potatoes on a baking sheet and put them in the oven for about an hour.  To check for doneness, poke them again and if it goes through easily – they’re done!  Place them on the counter to cool enough to handle.  When they are cool, unwrap them, cut the potatoes in half and using a spoon, scrape them out into a bowl and discard the skins.  Add the flour, eggs, salt and nutmeg and mix slightly with a fork until blended.  Turn out onto a cool work surface and form into four balls of dough.  Roll the dough into inch thick ropes.  Using a sharp knife, cut them 3/4 in length.  If you want to be fancy, you can use the back of a fork to press on each one making a unique divot.

To cook your gnocchi, heat water to boiling.  Add a pinch of salt and put in the amount of gnocchi you want to make.  Boil until they rise to the surface.  Scoop out and serve with your favorite sauce.

Enjoy!

Summer Slaw

Summer Slaw
Summer Slaw

My family and I were on vacation and while away, we found a great little restaurant called Frommagio Bistro.  They serve small plates (tapas), wine and beer.  The restaurant was split in two sections, one having a tasting bar in the restaurant and the other having a cheese tasting bar opposite a gelato bar.  What could be better?  We dined there three times in one week.  The first night we were there, my husband and I shared the beef medallions and blue cheese wedge and pesto raviolis.  The second night, we decided on the Spanish sliders and the Salmon on baby greens.  And finally the last night, we enjoyed the spicy prawn and pineapple salad.  All the dishes were fantastic and I would highly recommend those above.  If you are interested in dessert, try the banana bread gelato or the cheese tasting.

Whether there were four of us or nine of us, kids or not, there was something for everyone on the menu and the owner, Jeff, and his employees were so accommodating.  If you are ever in the small town of Manson, Washington, check them out.

I think I should mention that growing up, I hated cole slaw.  It reminded me of saurkraut and for the entire duration of my childhood I could never tell the two apart and didn’t care to discuss the matter.  They were both disgusting because of the tangy sauce that clung to it as if it was having it’s last breath choked out before turning a wretched color.   So you will have to excuse my rant there and believe me when I tell you that the Spanish sliders from Fromaggio Bistro came with a side dish.  Coleslaw.  <Insert scary movie music here>.  It happened to be the best coleslaw I have ever tasted.  Ever.  Interestingly enough, when I shared my coleslaw enthusiasm with the waiter, he said, “Yeah.  Isn’t it amazing?  I just love it too and often bring some home with me from work.  The ice cream base makes it really something!” And then he walked away leaving me with that high that food lovers get when they are sitting at the intersection between food they love and the kitchen’s secret ingredient.  I must also say that I was delighted that there was no mayonnaise.   I don’t have anything against mayonnaise, but it just doesn’t need to drown everything it meets.

DSC_0082

Summer Slaw

You can easily double or triple the recipe to make it for a crowd.  Make it in the morning of the day you are serving it and store it in the fridge.  This recipe is a MUST have if you are serving something spicy.  It is cool, refreshing and simple to make.   People will ask you how you made it and you point them here.

Ingredients

1 package of prepared coleslaw in the bag – toss the dressing that accompanied the slaw!

1 tart green apple, cubed into half inch pieces

1 can of pineapple cut pieces, drained  (If you cut your own, cut them into a half inch)

1 1/2 C. good vanilla ice cream

1 t. thick (reduced) balsamic vinegar (optional)

Directions

Get out a large mixing bowl.  Add the coleslaw mixture, apples and pineapple.  Mix together.  Add the ice cream on top and set aside until the ice cream is soft.  Add the balsamic and mix generously to coat all the coleslaw.  Refrigerate at least two hours to flavors combine.  Share with as many people as possible!

Enjoy.

Horse Whip

ImageThis is a picture of a vineyard in March.  Not much going on.  I like this picture because of the mountain and the sky.  Expansive open range….and not a single sign of the busy, hectic, have to be on time everywhere you go life that I lead.

Contrary to the vineyard, this is a recipe for one of the most exciting spreads ever.  My sister found the recipe, but neither one of us remember where it came from.  One day I texted her and asked if she had that recipe for that “horse whip.”  So now I share it with you.  I call it “Horse Whip” and as my six year old says when things seem simple, you’ll find the recipe to be “easy peasy lemon squeasy.”

Horse Whip

Ingredients

3 T Prepared Horseradish

1/4 c. Sour Cream

1 T. Dijon mustard

1 T. Mayonaise

1 T. chopped chives

Directions

Blend all ingredients together and refrigerate for two hours prior to serving.  Horse whip is amazing served as an accompaniment to perfectly grilled steak seared with just salt and cracked black pepper or alongside ham or simply roasted pork roast.  You can spread it on sandwiches too.  Your dining companions will be asking you for this recipe and all you have to say is, it’s “Horse Whip”.

Enjoy!